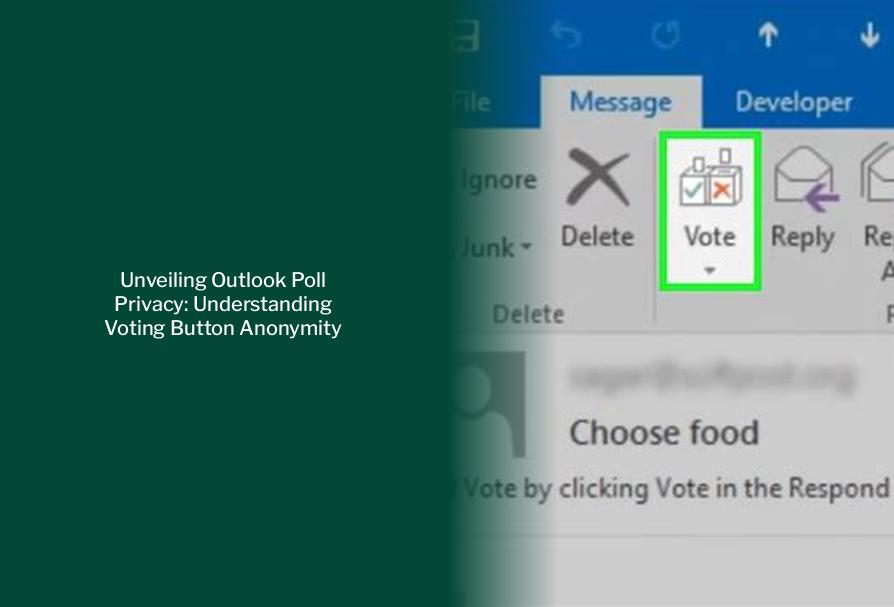
Unveiling Outlook Poll Privacy: Understanding Voting Button Anonymity
Key takeaways :
- To view voting results in Outlook, go to the Sent Items folder, open the email containing the poll, and click on Message > Tracking.
- To print the results, use Alt + Print Screen (PrtScrn) for a quick print, or copy the data to Word or Excel for further manipulation and printing.
- To work with the data results in Excel, select all names and responses in the list, copy them, and paste them into a blank workbook in Excel.
- To adjust the columns to fit the text in Excel, double-click between the column headers, and then print the results as needed.
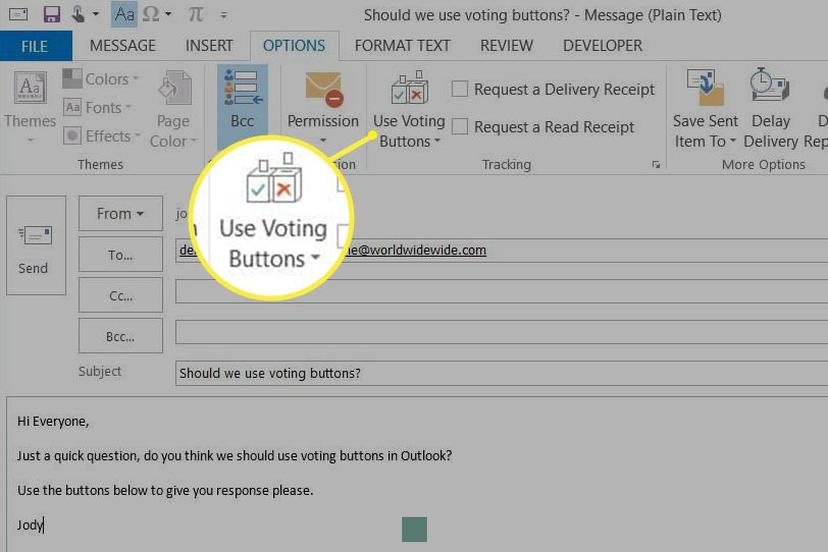
- To create a poll in Outlook, go to the Insert tab in a new email message and click on Poll, or use the Options tab > Use Voting Buttons > Poll.
- In the Poll pane, type your question and options, add additional options if needed, and choose whether responders can select a single answer or multiple answers.
How to View Voting Results in Outlook
- In Outlook, in the Sent Items folder, open the email message you sent that contains the voting poll.
- Click Message > Tracking. Tip: The Tracking button doesn’t appear until at least one vote has been cast.
- To print the results, do one of the following:
- For a quick print, press Alt + Print Screen (PrtScrn) on the keyboard, and then do one of the following;
- In Word, click Blank document, and then click Paste.
- In Outlook, click Home >New Email, and then click Paste. Click File > Print, specify a printer, and then click Print.

- To sort and work with the data results in Excel, first do this:
- Click Message > Tracking.
- On the keyboard, press and hold Ctrl, and then click and drag the mouse to select all names and responses in the list.
- On the keyboard, press Ctrl + C.
- Open Excel and choose Blank workbook.
- Right-click the top-left cell, and then click Paste.
- To adjust the columns to fit the text, place the cursor between the column headers and double-click. Click File > Print, specify a printer, and then click Print.
- For a quick print, press Alt + Print Screen (PrtScrn) on the keyboard, and then do one of the following;
How to Create a Poll in Outlook
- In a new email message, go to the Insert tab, and then click Poll. Note: You can also find the poll on the Options tab > Use Voting Buttons > Poll.
- The Poll pane opens and is ready for you to type your first question and two options. Note: If you’re already signed in with your work or school account and prompted to sign in again, there may be a setting your admin needs to address to eliminate this extra sign in step for you. Contact your admin for more information.
- To add additional options, click + Add option.
- When you’re done adding options, you can decide if you want responders to only select a single answer or multiple answers. If you want to allow multiple answers, toggle the Multiple answers button to the right so that it turns green.
- Click Insert poll into email.
You’ll see a link to your poll in the body of the email and your name pre-populated in the CC line. You’re now ready to send your poll in email.
Are Outlook Voting Buttons Anonymous?
Discover – Unlocking the Mystery: Locating and Managing Outlook Contacts Stored Locally
Microsoft Outlook Polls are not anonymous by default. To make a poll anonymous, you must manually select the anonymous option when creating the poll. Anonymous polls do not display the names of the respondents, and respondents are not notified who has voted for each option. However, the poll creator will still be able to see who voted for each option.
What are Microsoft Outlook Polls?
Microsoft Outlook polls are an easy and efficient way to gather feedback from colleagues, friends, family, and other contacts. With Outlook polls, users can quickly create polls with multiple choice options and send them out to their contacts.
Steps to Add a Poll in Microsoft Outlook Desktop Client
Open the Microsoft Outlook application, and in a new email, click Insert > Poll. A panel will open on the right-hand side of the email for you to enter your question and possible answers. You can only ask one question in an email poll, though you can allow for multiple answers. When the poll is complete, click the Insert poll into email button.
Must-Read Windows Coverage
In June 2020, Microsoft began rolling out an updated version of Outlook that included a built-in polling feature. Before this update, conducting a quick poll in Outlook required an add-in application from the Microsoft Store. A built-in polling feature is certainly more convenient for users. This how-to tutorial shows you how to find and use the built-in polling feature of Outlook in Microsoft 365. SEE: Guide to becoming a digital transformation champion (TechRepublic Premium)