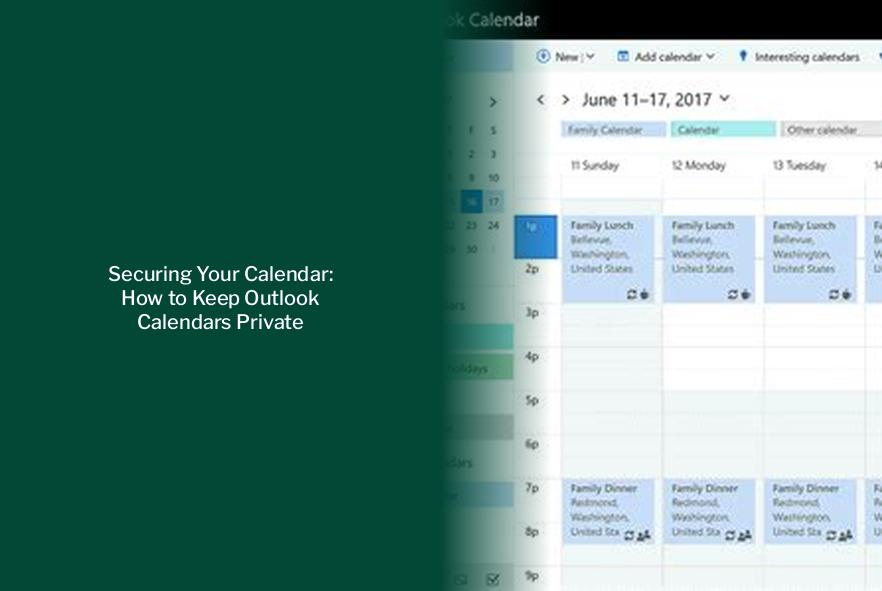
Securing Your Calendar: How to Keep Outlook Calendars Private
Key takeaways :
- To make an event private in Outlook Calendar, double-click on the event, go to the Event tab, and select Private. If the Private option is not visible, select More options > Private.
- When an event is marked as private, only the organizer and the meeting attendees can view the details, and a lock symbol appears on the event in the calendar view.
- Using the Private option allows users to hide appointment, event, and task details from other users with whom the calendar is shared, provided they have restricted permissions.
- Adjusting permissions for shared calendars in Outlook can help in hiding all appointment details by changing the permission level to Reviewer and selecting Free/Busytime.
- For calendars shared via email, users can remove appointment details by selecting the Limited details option in the Share tab when sharing the calendar.
- By following these steps, Outlook users can ensure that appointment, event, and task details are not visible to others, maintaining privacy and security.
How to Make Your Outlook Calendar Private
Discover: Unlock the Benefits: Outlook Accounts Explained
In the calendar, double-click to edit the event that you organized and want to make private. On the Event tab, select Private. If you don’t see Private, on the right end of the toolbar, select More options > Private. Save the appointment or send the meeting update. The details will be visible to only you and the meeting attendees. In calendar view, a lock symbol appears on the event to indicate it is private.
In the calendar, select the meeting or appointment you want to make private. In the Tags group, select Private. In calendar view, a lock symbol will appear on the event to indicate it is private.
Select the Private Option for Appointments
With the Private option, you can hide calendar appointments, events, and task details from other users. To do that, open Outlook’s calendar view. Select the meeting appointment on the calendar. Click the Private button on the Appointment tab. Then, users you share the calendar with (without Read permissions) can’t see the details for the padlocked appointment. Click the Private button again to remove the padlock from the appointment.
More updates: Decoding the Differences: Microsoft Exchange vs. Outlook – Which One Suits You Best?
Adjust the Permissions for Shared Calendars
If you need to hide all appointment details on Outlook’s calendar, changing its permissions is better. To do so, click Outlook’s Calendar button. Select a calendar under My Calendars. Click the Change Permissions button to open the window shown directly below. Choose a user you’re sharing the calendar with to adjust permissions for. Select the Reviewer option on the Permission Level drop-down menu. Select the Free/Busytime option. Click the Apply option. Click the OK button to exit the window.
— Outlook vs Hotmail: Unveiling the Differences in 2023
Hide Appointments in Calendars Shared via Email
Some Outlook users might need to share calendars via email. To remove appointment details from calendars shared by emails, right-click the calendar to share (under My Calendars) and select Share. Then select the Share Calendar option. That option will open the Share tab. Click the Limited details option in the Details drop-down menu. Select the Yes option.
So, that’s how you can ensure appointments, events, and task details aren’t visible to other users on shared Outlook calendars. Doing so will keep your calendar appointments more confidential. Finally, make sure to click OK to save your changes.
Benefits of Making Your Outlook Calendar Private
Making your Microsoft Outlook calendar private is an important step to ensure that all your important events and meetings remain secure and confidential. By taking advantage of the privacy settings available in Outlook, you can control who can view your calendar and how much information they can see. This can help to protect your calendar from any unwanted viewers, as well as provide peace of mind that your calendar is kept secure. One of the biggest benefits of making your Outlook calendar private is that you can set reminders and notifications.
Trending — Safeguard Your Email: Are Outlook Ads Safe? Unveiling the Truth and Solutions
Set Calendar Permissions in Outlook
- Click the calendar icon
- Right-click on Calendar
- Choose Sharing Permissions
- Another option is to click on Share Calendar in the toolbar on the Home tab.
Open Sharing Permissions in Outlook Calendar
- Click on Add to select a colleague
- Select the person(s) or group that you want to give permission and click Add
- Click Ok
Select Persons to Share Your Calendar With
- Select the appropriate permission that you want to give
- Click on Apply
Set Calendar Permission in Outlook Online
We can also set the permissions using Outlook Online. First open Outlook Online:
To do this, select the item on your Calendar or double click on the appointment or meeting to open it in its own window and choose:
- In the Tags group on the Appointment or Meeting tab, click the “Private” button with the lock icon (next to the Categorize button).
Private command on the Simplified Ribbon. Private command on the Classic Ribbon. On your Calendar, all items which are marked as Private will show with a lock icon in the bottom right corner;
Change permissions on your Calendar folder. To prevent that any details of your Calendar are exposed via the Schedule Assistant, you can change the permissions on your Calendar folder.
Now, let’s look at how to mark your events as private in Outlook calendar.
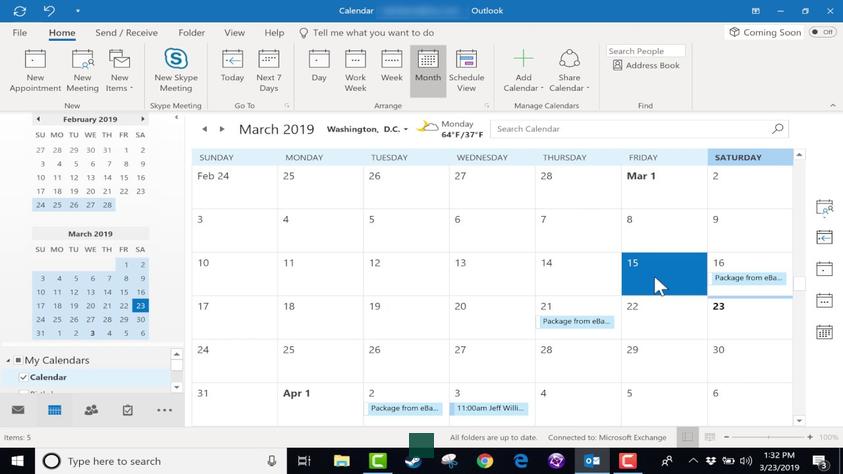
Hide Calendar Details in Outlook on Desktop
You can mark an event as private when you set it up in Outlook Calendar. If you forget, you can do so after the fact as well. With your new event open in Outlook on Windows or Mac, go to either the Appointment or Meeting tab. Select the Private button in the Tags section of the ribbon. Complete the details for your event and choose Save & Close as you normally would. If you’ve already saved the event, right-click it on your calendar and choose Private. You’ll then see the Private icon on the event in Outlook Calendar.
How to Hide Details From Others on Outlook Calendar
Outlook is designed for easy sharing, but maintaining a high level of privacy is also possible. You can share an entire calendar with others or only share specific events. Share settings are designed for business and personal use, and they make it easy to coordinate meetings and events with other people. However, some events are best kept private, and you can conceal those details in a few easy steps.