Mastering Outlook Rules: Case Sensitivity Demystified
Key takeaways :
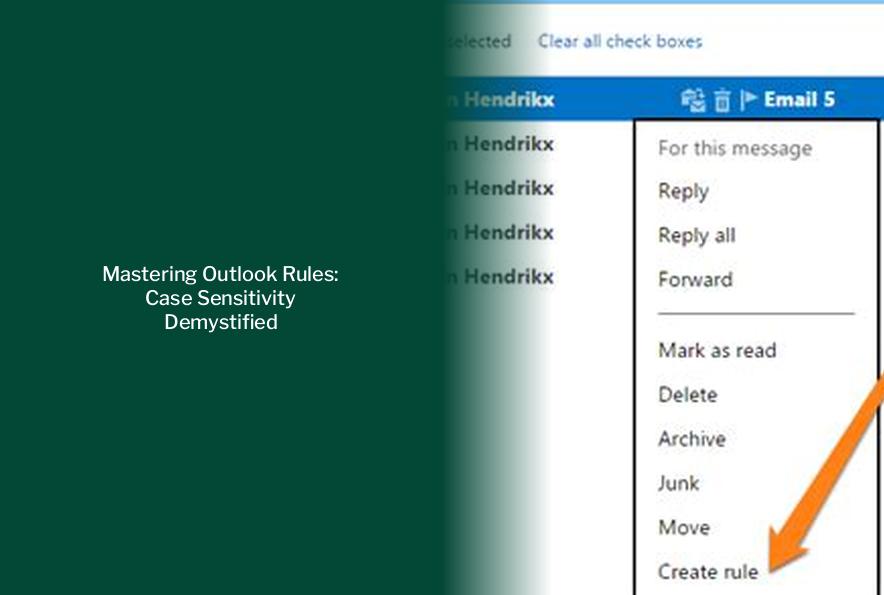
- To create a rule in Outlook, right-click on the email, choose Rules, and then Create Rule, and specify the conditions and actions for the rule.
- Access Outlook rules by clicking on Rules > Manage Rules & Alerts on the Home tab or by choosing Manage Rules & Alerts from the File tab.
- When creating rules for emails, the process differs slightly between the Outlook web app and the Outlook desktop app.
- Rules in Outlook can be set to run against the Inbox or other folders, and some rules may only run when Outlook is running.
- Advanced Find in Outlook can be opened using keyboard shortcuts or through the Classic Ribbon, providing additional options for managing and organizing emails.
- When setting up rules in Outlook, it’s important to note that the rules are not case-sensitive, simplifying the process of creating and managing rules for emails.
Creating Rules in Outlook

To create a rule, follow these steps:
- Right-click on the email you want the rule to act on.
- Choose Rules…Create Rule.
- Check the Subject contains box and fill in the field with “New customer order”.
- Then check the box that says Move to folder and choose the “WooCommerce” folder.
More updates: Unveiling the Mystery: Where Are Outlook Folders Saved Locally?
Setting Up Rules in Outlook

You can then choose to run the rule against your Inbox if you’d like. Here’s another example of a rule that defers sending the email by one minute:
- Access Outlook rules:
- On the Home tab, in the Move group, click on Rules > Manage Rules & Alerts.
- Alternatively, go to the File tab and choose Manage Rules & Alerts.
- Create a new rule. In the dialog box that opens, click New Rule…
- Select a template. Under Step 1: Select a template, choose the template that suits your needs.
- Edit the rule description. Under Step 2: Edit the rule description, click on the values to make selections according to your preferences.
- Finish and save the rule:
- Click Finish to save the rule.
- Or, click Next to define additional conditions, actions, and exceptions for the rule.
Some rules may only run when Outlook is running. If you encounter a warning, just click OK.
Creating Rules for Emails
Once you have the new rule screen open in Outlook, follow these steps:
- If you’re using the Outlook web app: Head to the Settings menu, click “View all Settings“, go to Mail, then select Rules.
- If you’re using the Outlook desktop app: Head to File, then Manage Rules & Alerts, then click “New Rule…”
On the desktop app, you’ll see an option to create a new rule from a template or start from a blank rule.
- To open Advanced Find, use one of the following methods:
- Keyboard shortcut: CTRL+SHIFT+F
- Classic Ribbon: Click in the Search Field -> Search Tools -> Advanced Find…
- Single Line Ribbon (Office 365): Click in the Search field -> press on the ellipsis menu (…) on the right -> Search Tools -> Advanced Find…
- Use the Browse… button to select which folder(s) you want to search in and whether or not to include subfolders.
- On the Messages tab, specify the words that you are searching for and set the “In:” dropdown field to Subject field and message body.
- Select the More Choices tab and enable the “Match case” option.
- Press Find Now.
When you need to perform this query more frequently, you can create a Search Folder instead.
Creating Rules from Messages
- Right-click an existing message and select Rules > Create Rule.
- Select a condition and what to do with the message based on the condition.
- When you’re done creating the rule, select OK.
- To use the rule right away, select the Run this new rule now on messages already in the current folder checkbox, and then select OK.
- Select File > Manage Rules & Alerts > New Rule.
- Select a template. For example, to flag a message.
- Edit the rule description.
- Select Next.
- Select the conditions, add the relevant information, and then select OK.
- Select Next.
- Finish the rule setup.
- Select Finish. Certain rules will only run when Outlook is on. If you get this warning, select OK.
- Select OK.
When rules are applied, delivery receipts, read receipts, voting responses, and Automatic Replies are processed as if they’re messages. A rule that moves messages with the word meeting in the Subject box to a specific folder, for example, also moves all delivery receipts, voting responses, or an Automatic Replies to that same folder.
Steps may be different between new and classic Outlook for Windows. To determine which version of Outlook you’re using, look for File on the ribbon. If there’s no File option, follow the steps under the New Outlook tab. If the File option appears, select the tab for Classic Outlook. Create an inbox rule for new Outlook for WindowsRules are applied to incoming messages and can be created from any folder.